My kitchen pantry was somewhat messy, and I realized that the limitations of the wire shelving system contributed to my disorganization. Since I don’t use this small kitchen pantry for primary food storage, I wanted to find the best way to utilize the space.
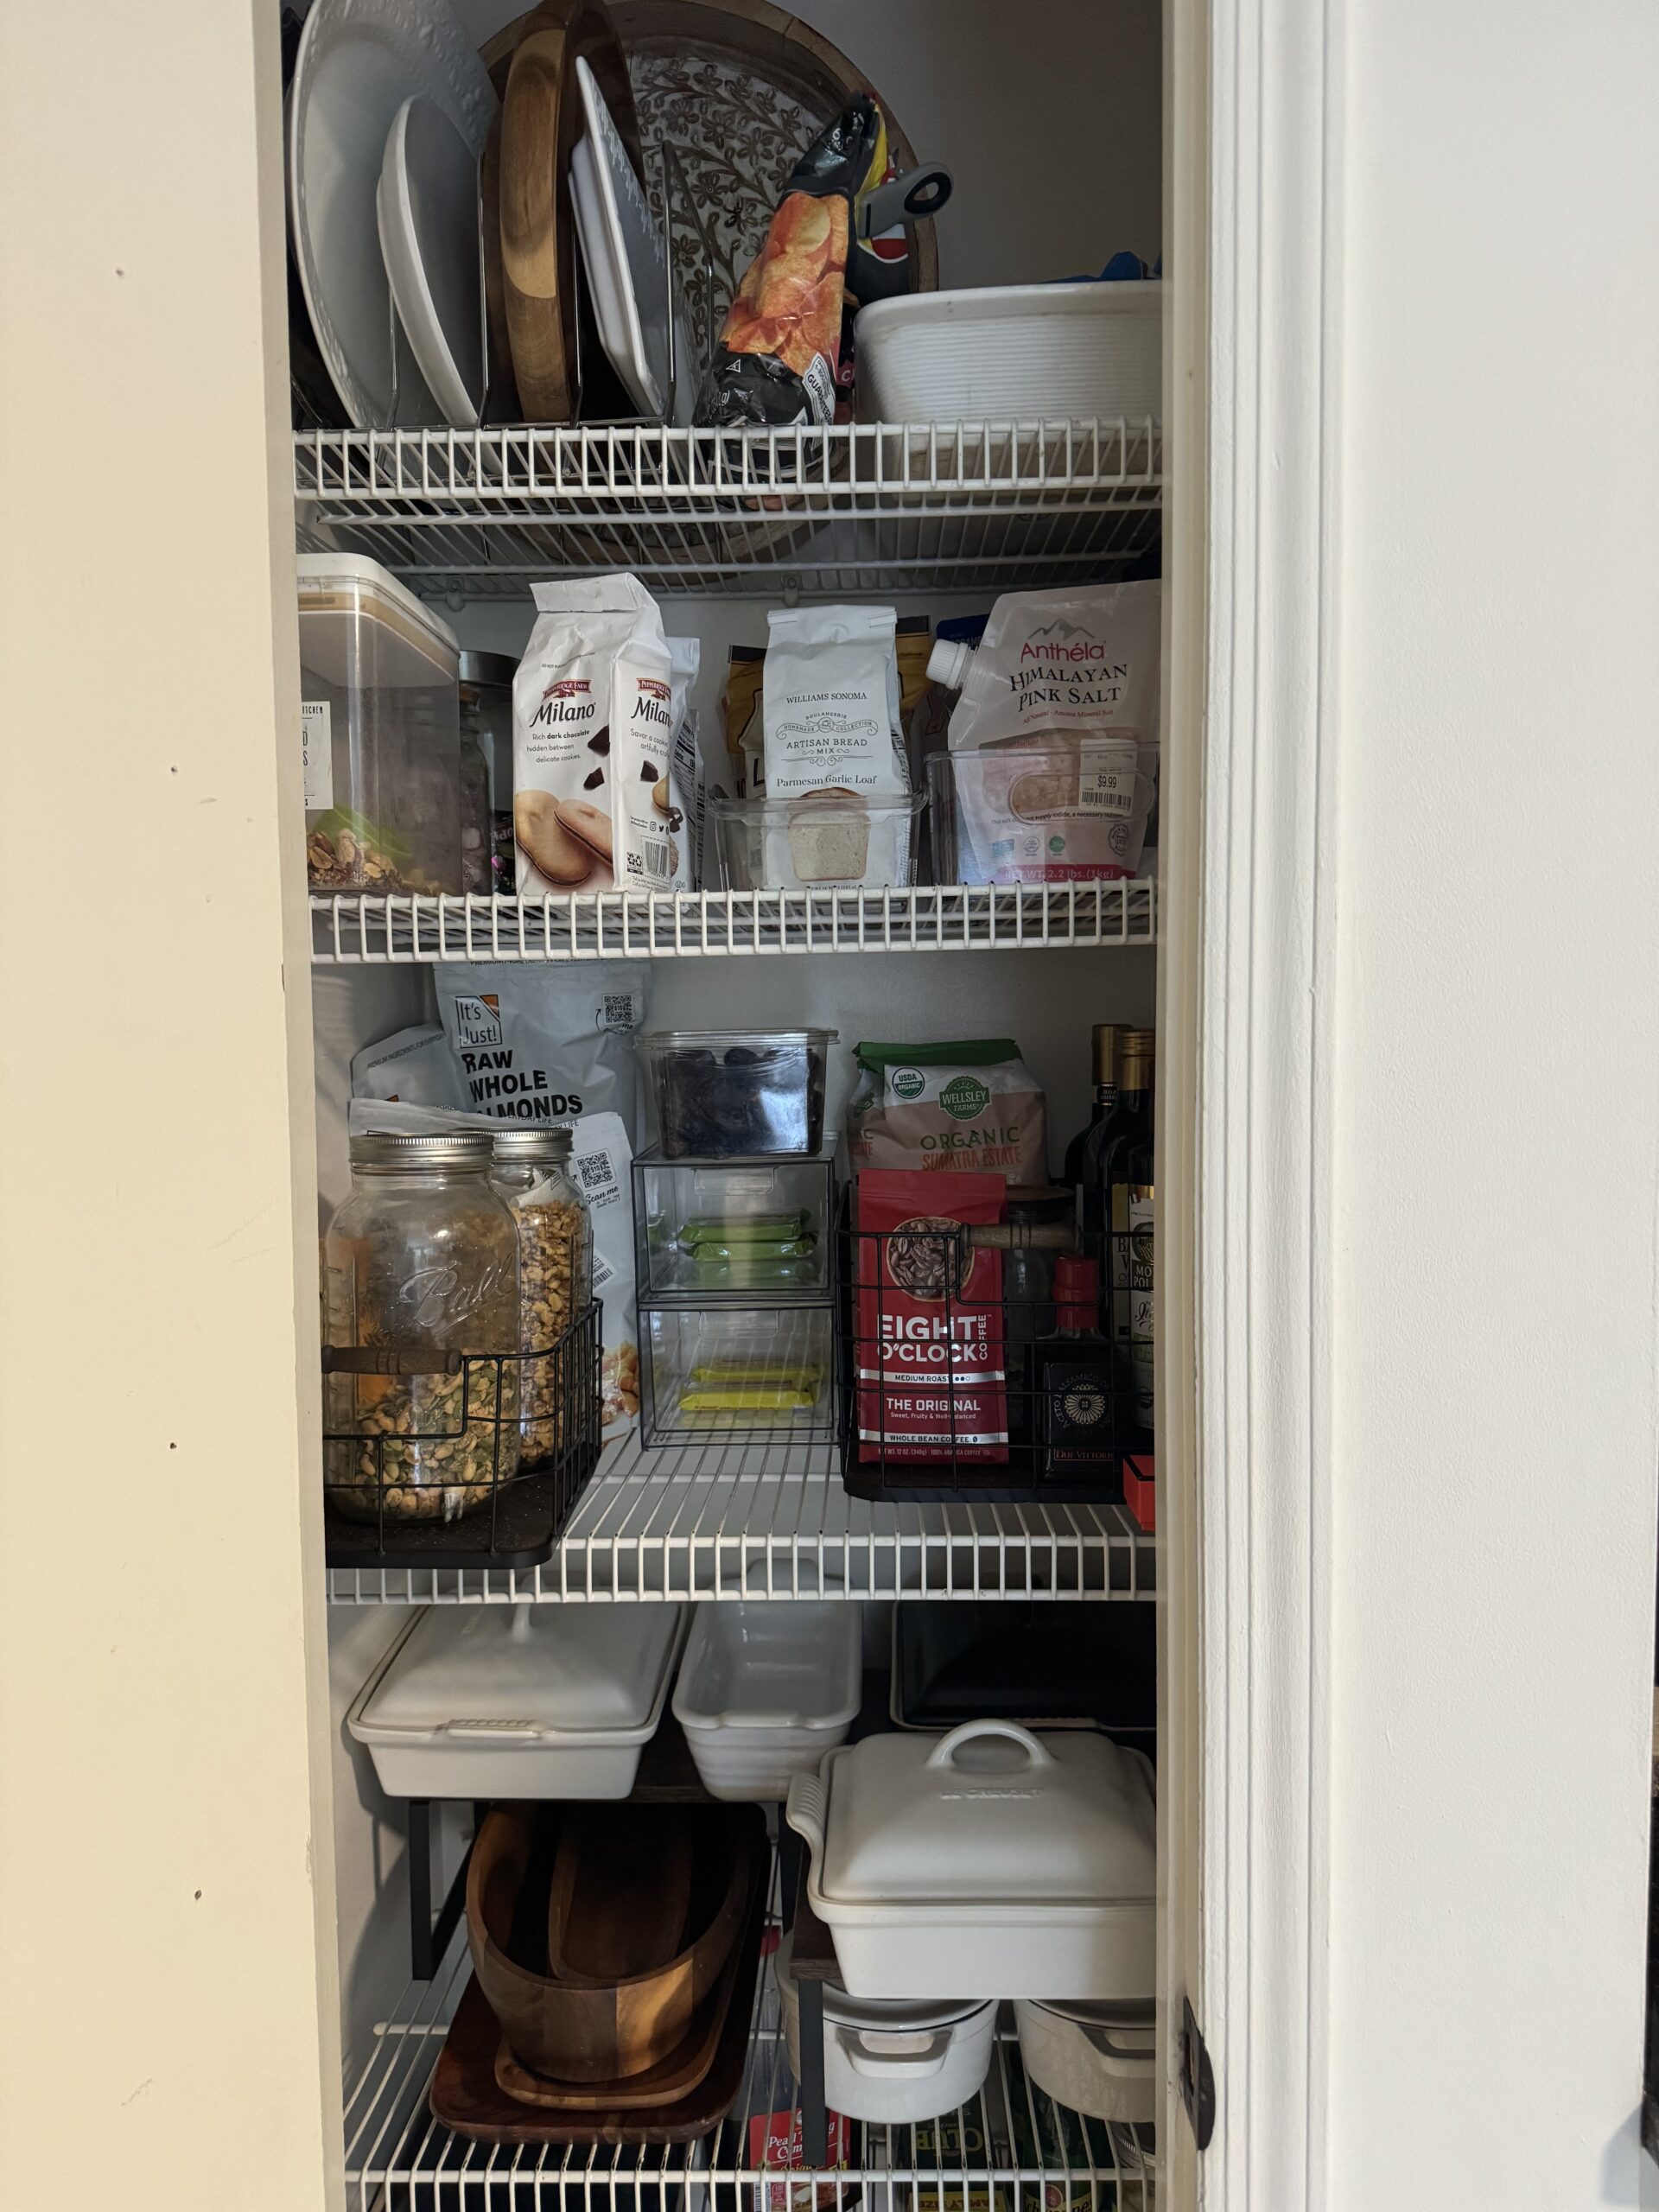
The Setup
I decided to install an updated adjustable shelving system, which would allow me to easily adjust the shelving in the future. Keeping a few essential items on hand, such as snacks, oils and vinegar, pasta, and coffee, was necessary for me, too. Additionally, I intended to store my heavy baking stoneware and cast-iron cookware in the pantry instead of the bottom of my deep cabinet where cookware disappears.
First thing in the morning, I cleared everything out of the pantry, including the original hard-to-adjust wire shelving system. I measured the space, cleaned it up, patched any holes, and painted. While the paint dried, I headed to Home Depot to purchase an adjustable shelving system and then to Beckerle Lumber for lumber to support at least seven wooden shelves.
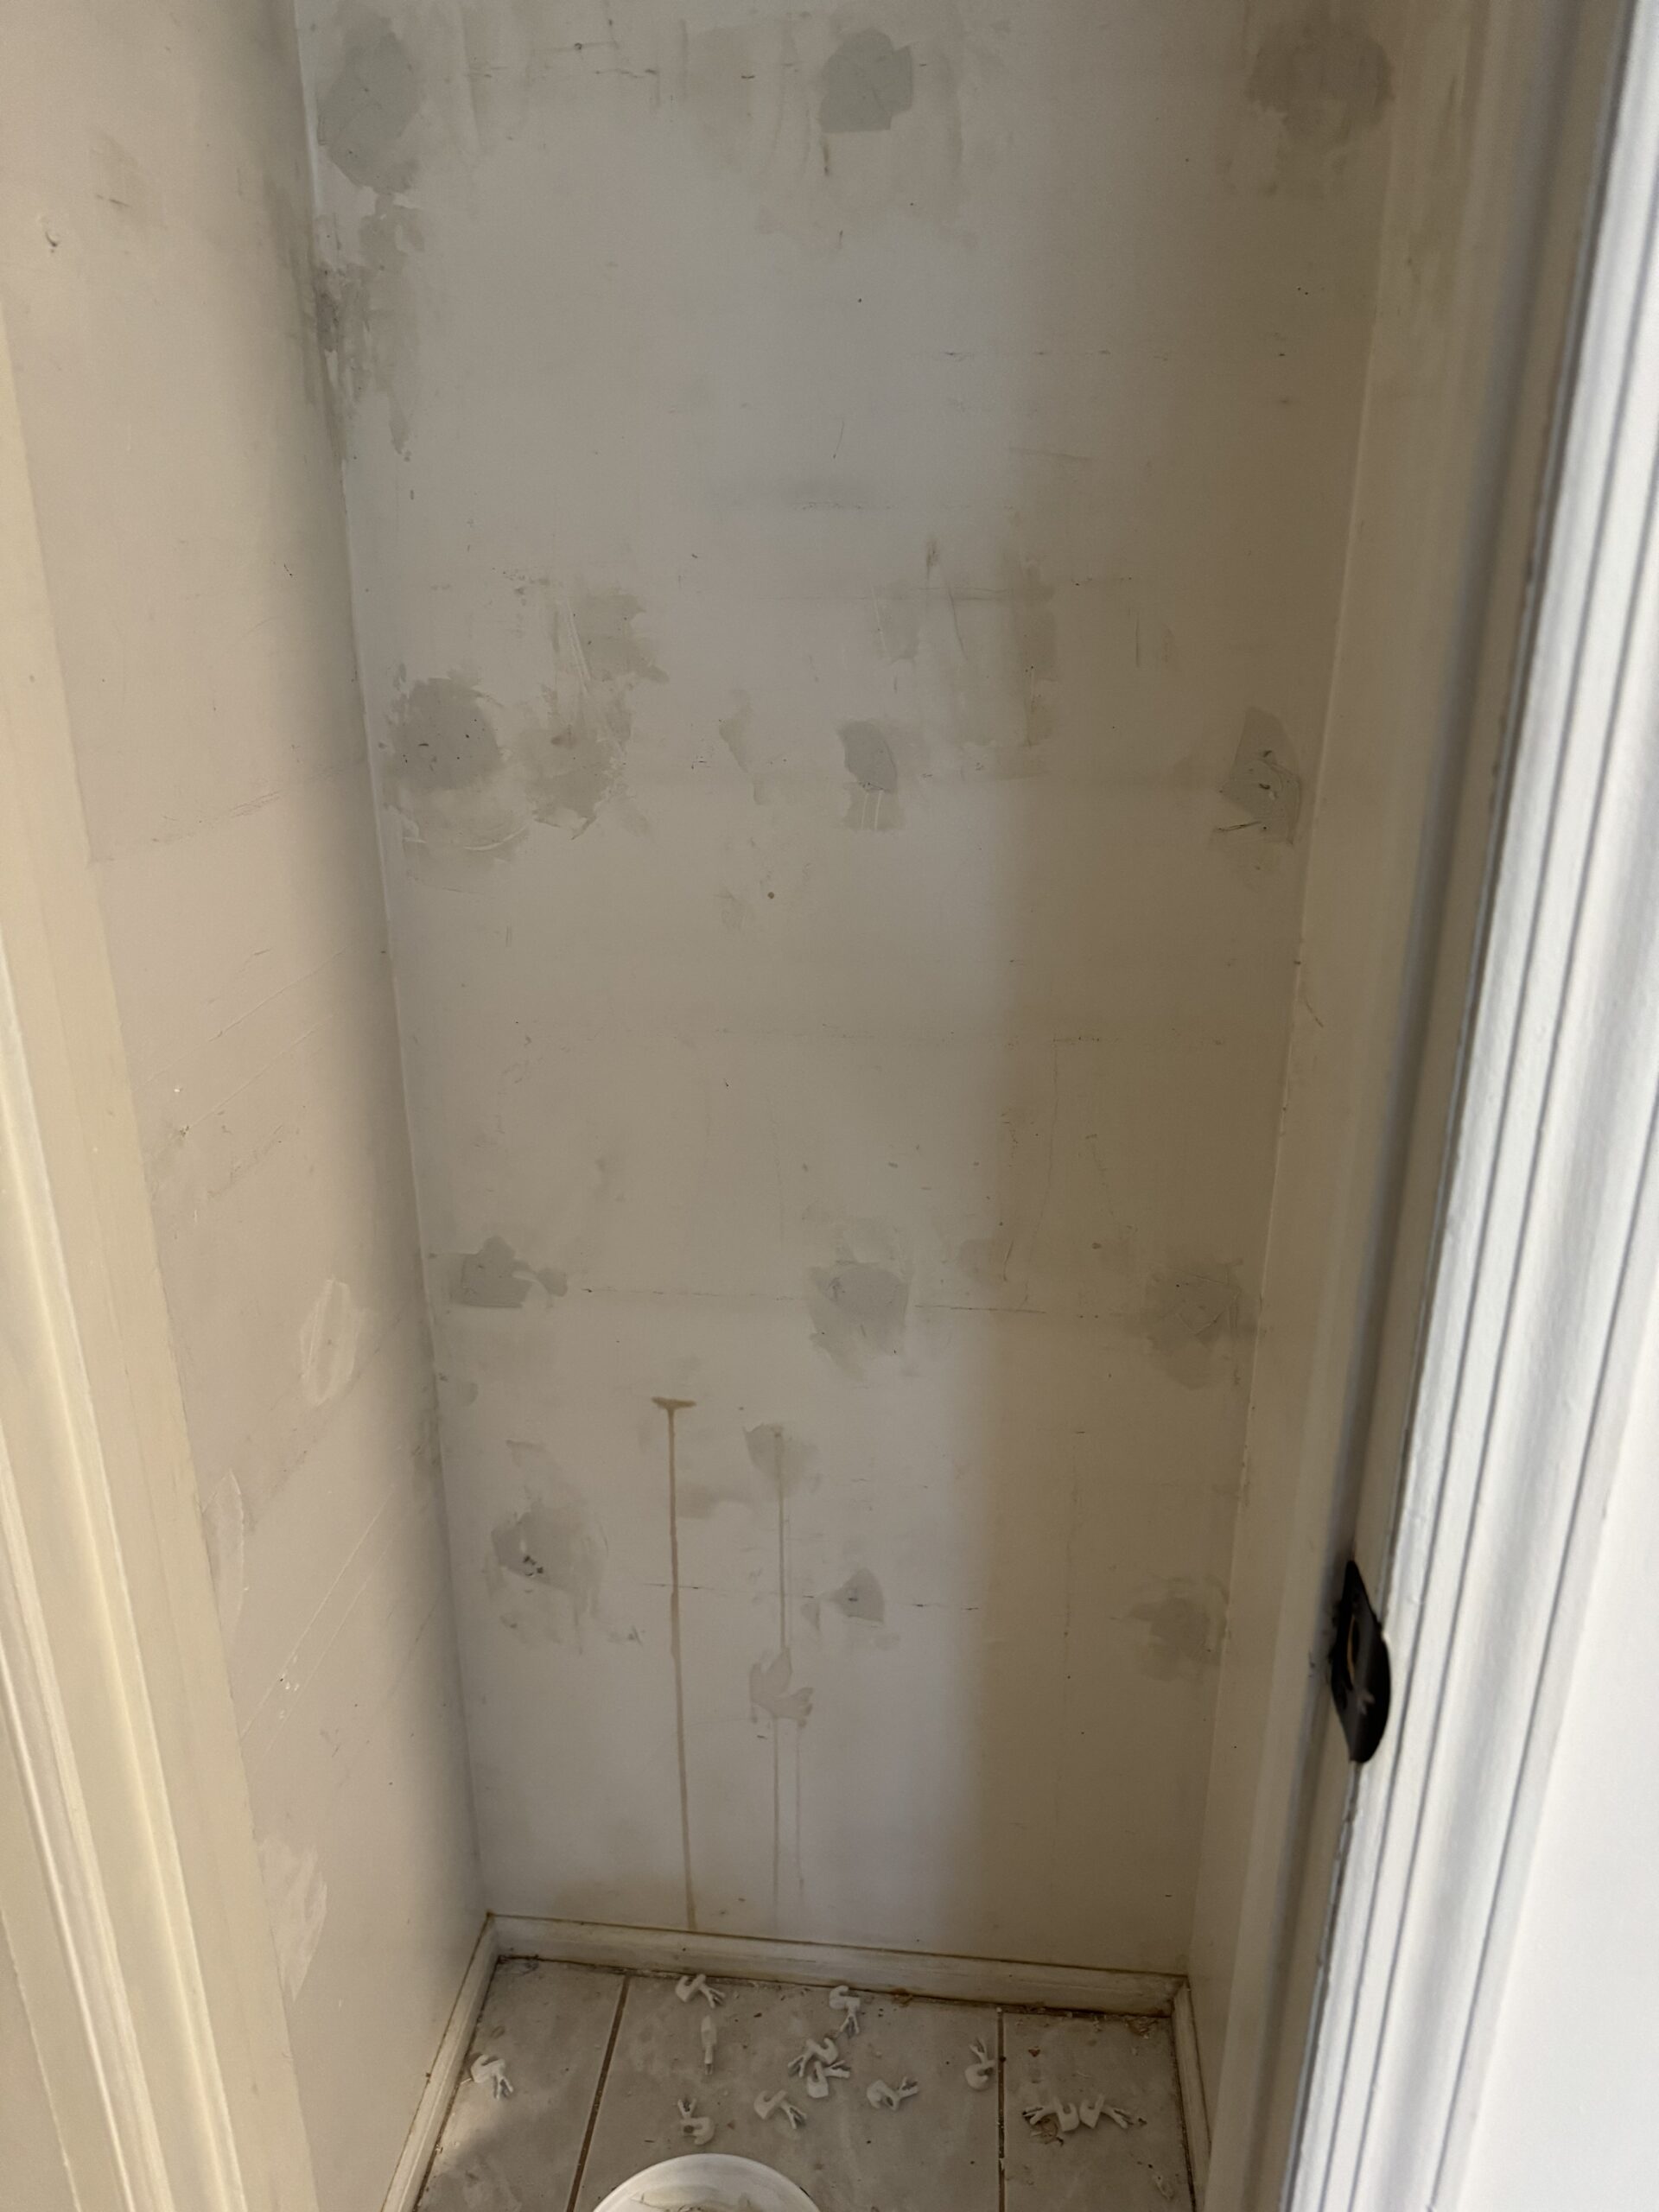
Home Depot Supplies
- One 24-inch heavy-duty steel hang track
- Two 60-inch Everbilt heavy-duty steel vertical rails (white)
- Everbilt heavy-duty brackets (14) and a screw kit (the size of the brackets depends on the shelf measurements)
*Note: I picked up two different bracket lengths to allow for flexibility in adjusting the shelf depth.
Beckerle Lumber Supplies
I used ¾-inch pine wood, with each shelf measuring 24 by 18 inches. I requested that each shelf be cut into three equal strips, allowing for flexibility in future configurations. While this process may seem complicated, it is handy when deciding how to use each shelf. Additionally, I needed one quart of stain and one quart of polyurethane.
I lightly sanded each piece of wood, applied a few coats of stain until I achieved the desired color, and let it dry. Then, I finished with a coat of polyurethane. This part of the job was completed outside in a ventilated space.
While the wood dried, I installed the Everbilt track system and sorted and cleaned the items in the pantry.
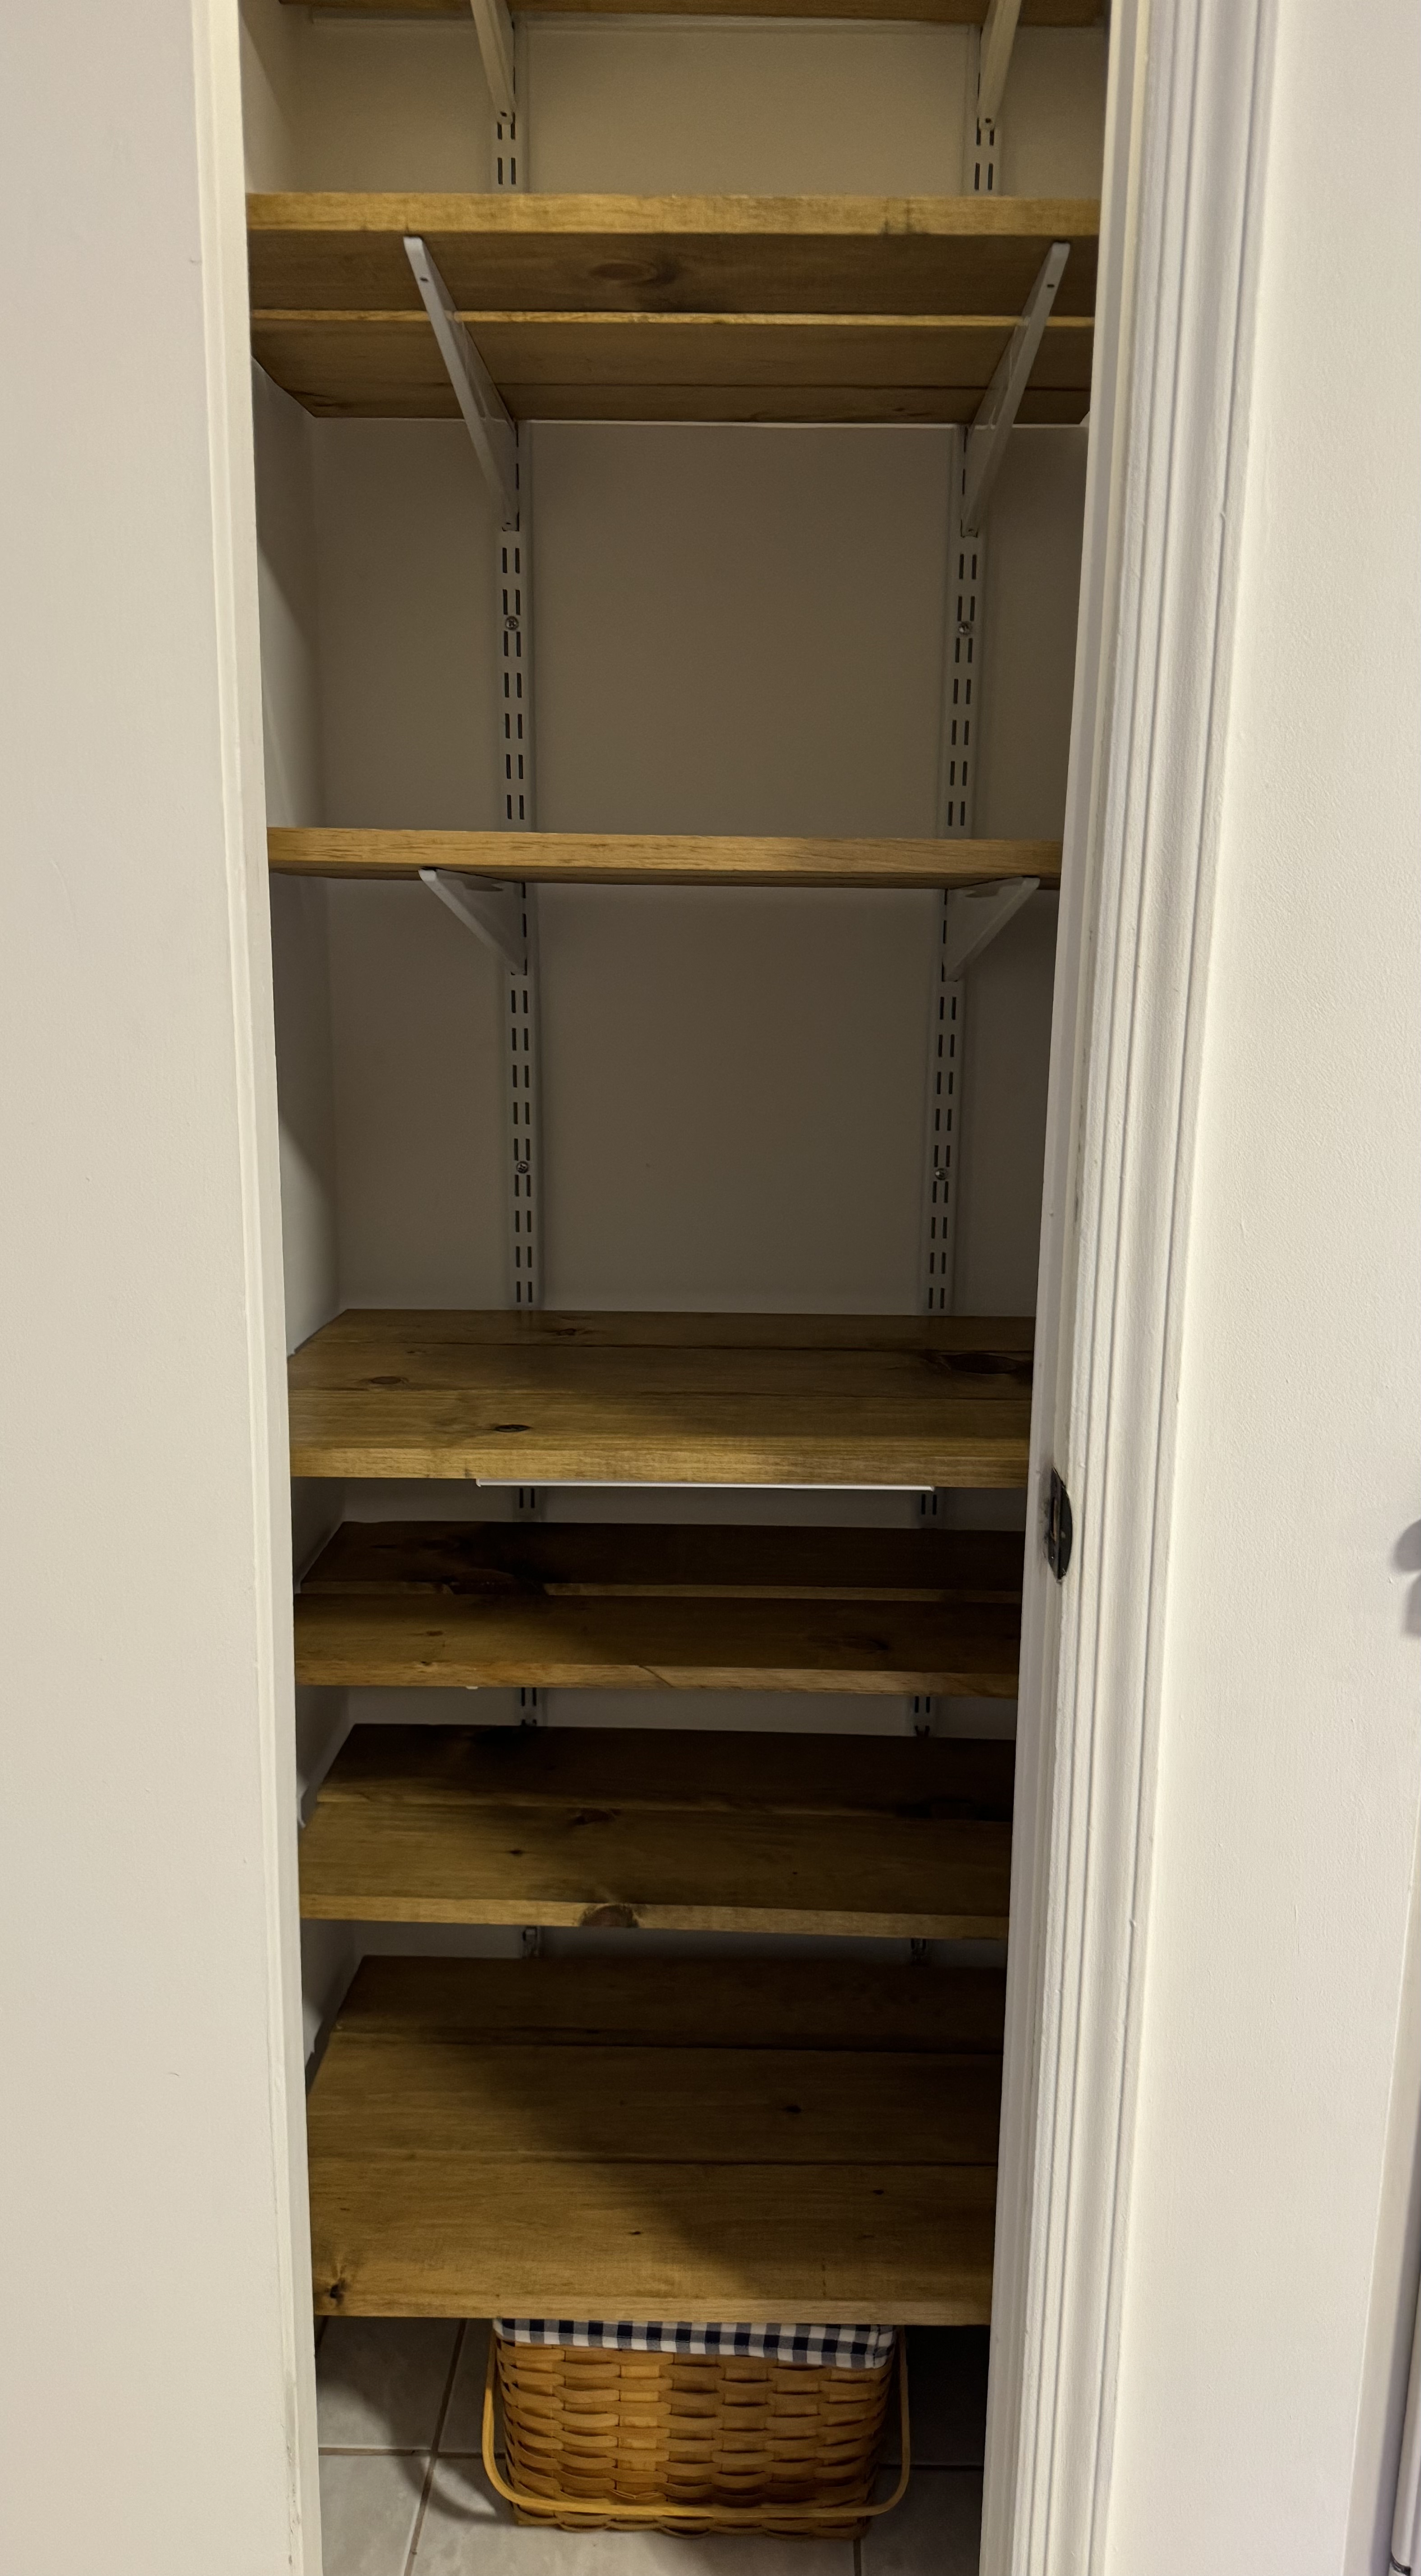
Putting Everything Together
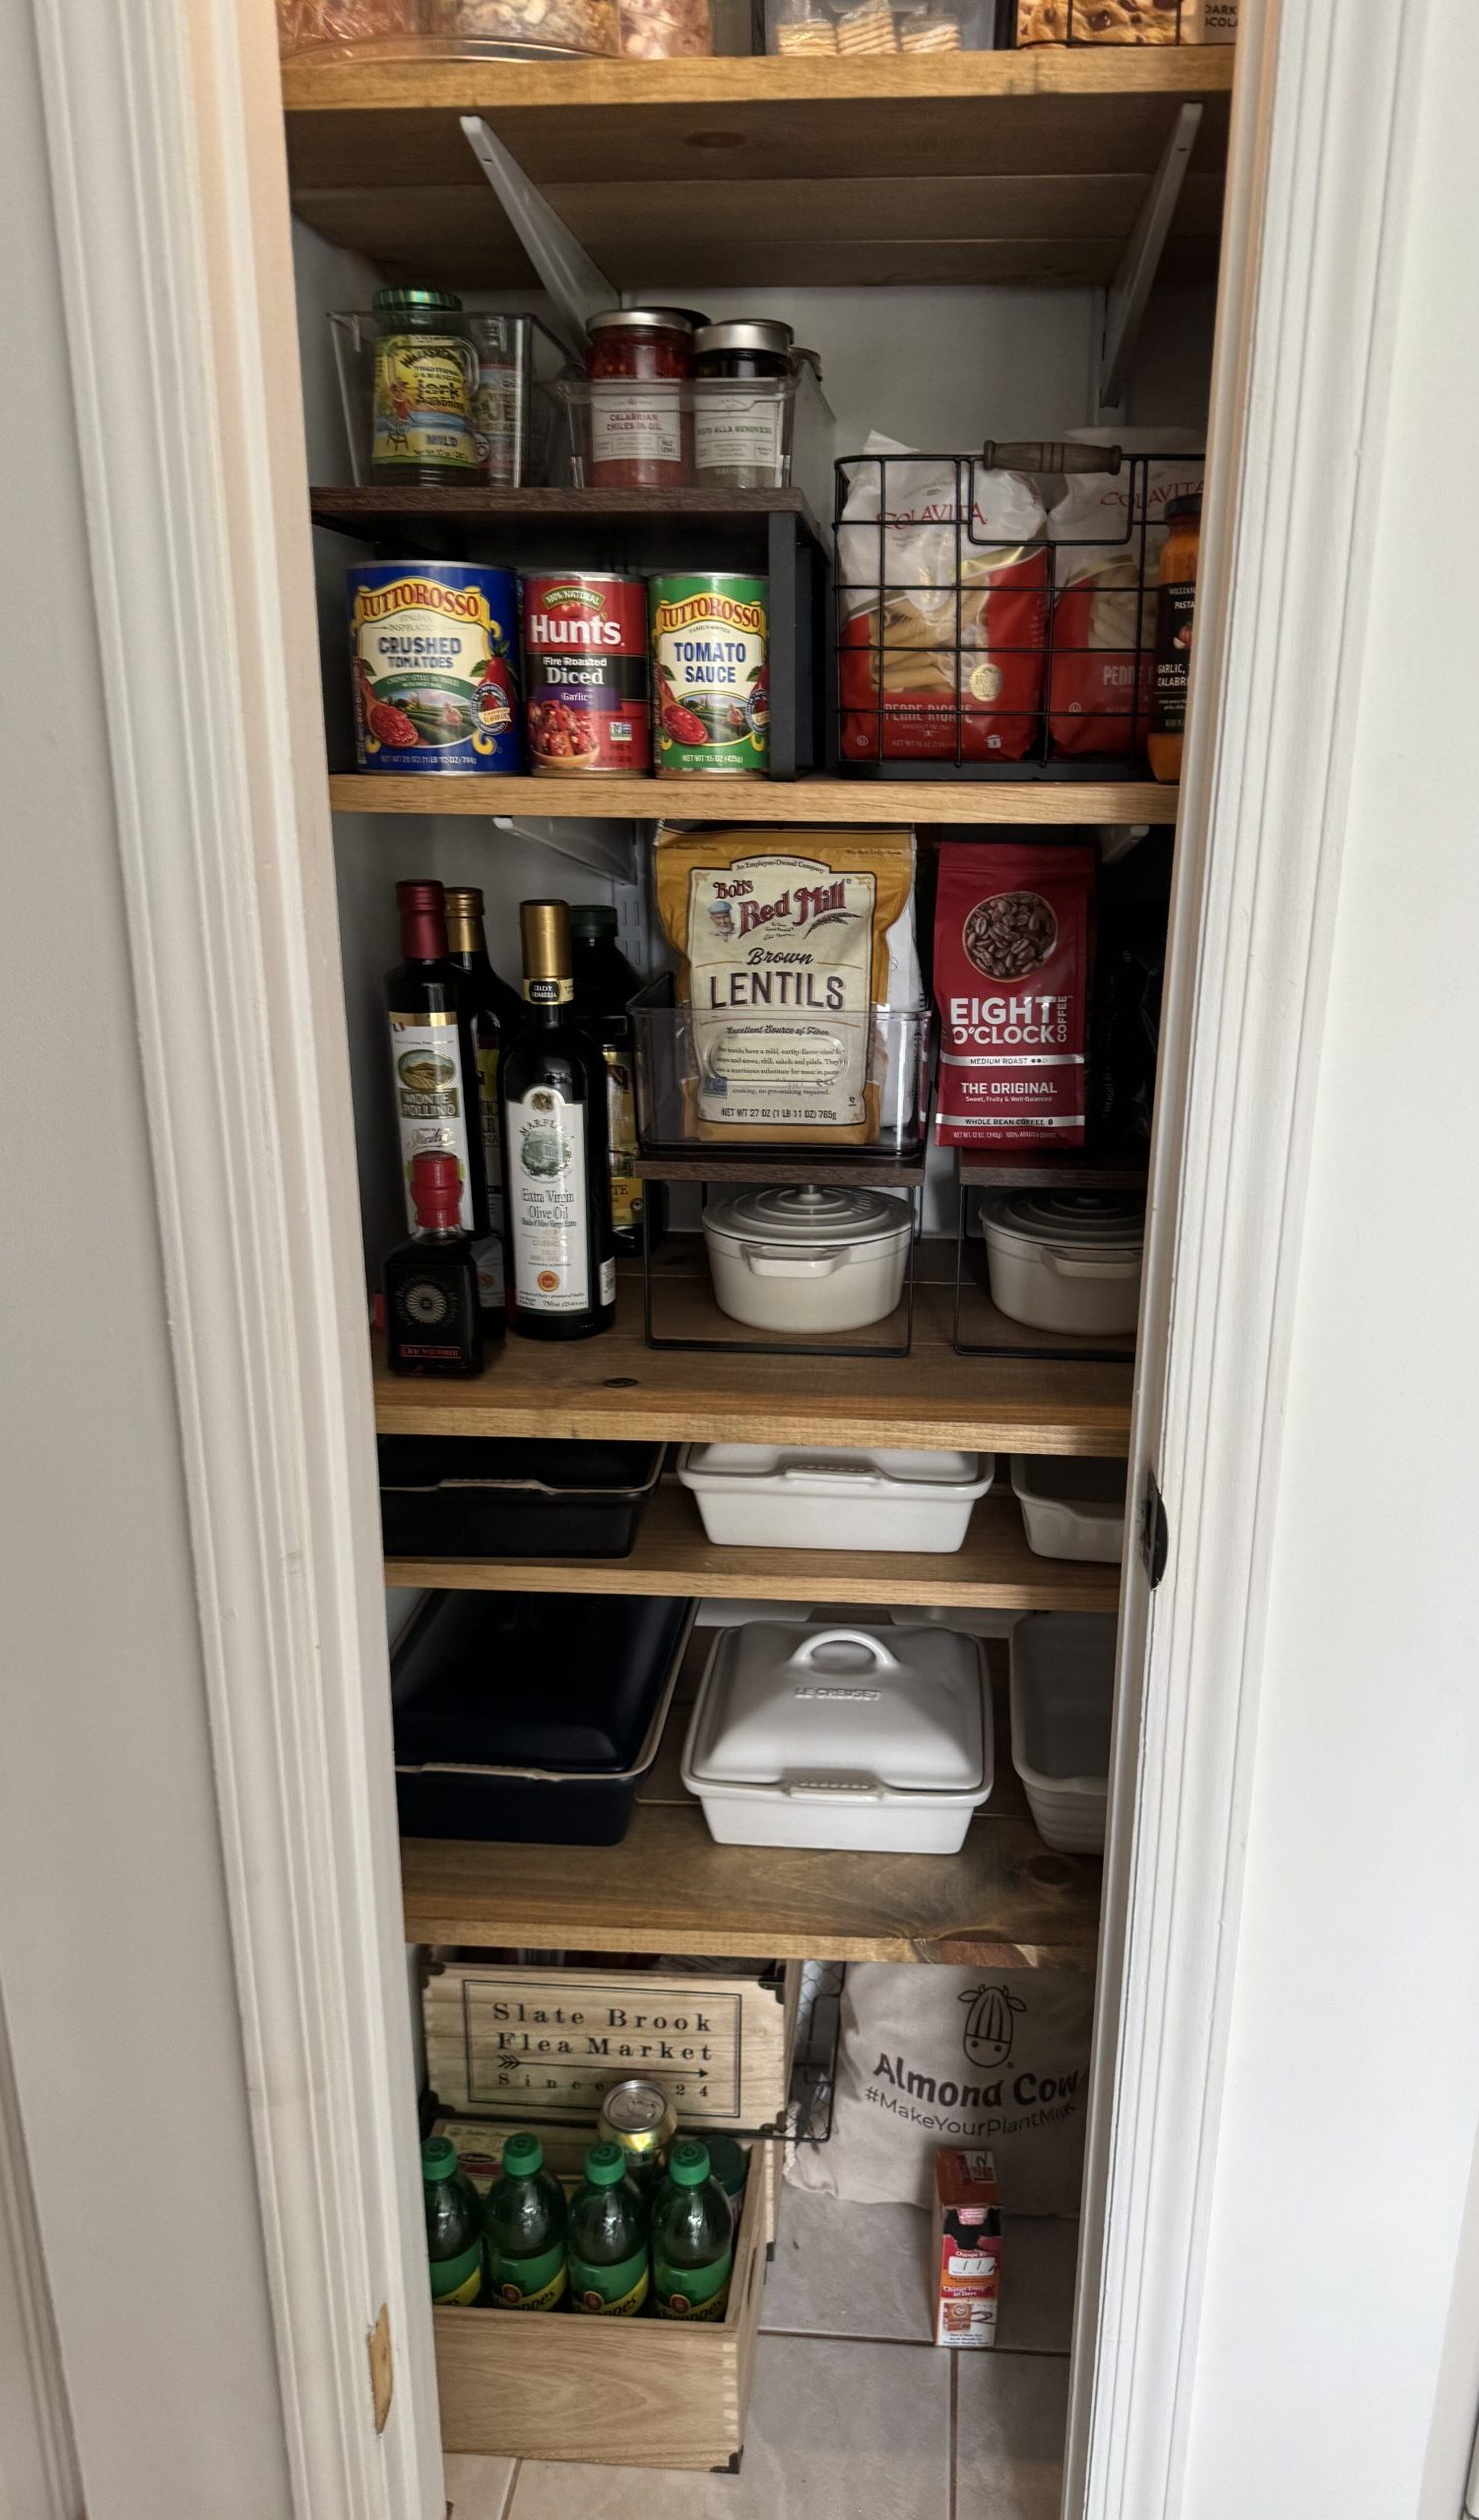
By the evening, I was able to organize my pantry.
The very top shelf holds items I don’t often use, such as large pans, serving platters, and a bin for chips. The top shelf is ideal for storing extra bags of coffee beans and snacks, which I’ve organized in containers and glass jars. The following two shelves, at eye level, hold additional pasta, lentils, sauces, oils, and my heavy Staub braiser. The lower shelves are for other baking stoneware and cast-iron cookware. At the very bottom of the pantry, I’ve placed my homegrown potatoes in a closed basket.
The final touch was to add under-shelf USB motion lights, which were an Amazon purchase, so I could see the stored items(snacks) without turning on the main kitchen lights. Plus, the pantry looked beautifully lit when the door was opened.
I was very pleased with the refresh. It only took one day to complete!
For more ideas like this, check out my laundry room refresh or my 4-step plan for decluttering your kitchen counters!
