
Going back and forth to my pantry made meal prep a bit frustrating. This may sound silly or lazy, but my current pantry setup no longer worked for me. After a lot of research and contemplation, I came up with the best way to organize my kitchen.
Everything in the triangle – your stove, your sink, and your refrigerator- should be organized in a way that is easy to prep and put food away. This month, I turned my kitchen upside down by relocating most of my non-perishable foods, like dried pasta, rice, cereals, oats, beans/legumes, canned goods, and baking items from the pantry to the cabinets near my stove and moving ovenware, oversized platters, and party supplies that I didn’t use daily to the pantry. My pantry still houses snacks, mixed nuts, extra legumes and items like coffee, onions, and potatoes, but the food I use daily is in my cabinets. Here are a few tips for reorganizing kitchen cabinets and pantry spaces.
Be Prepared!
Start with a big cup of coffee, tea, or energy drink. You’ll need it!
Reimagine the Space Before You Start
Remove everything from your pantry and cabinets and clean the space so you can imagine how you could better utilize the space for your family, but mainly yourself- especially if you are the main food prepper.
Clean and Label Non-Perishable Food Containers
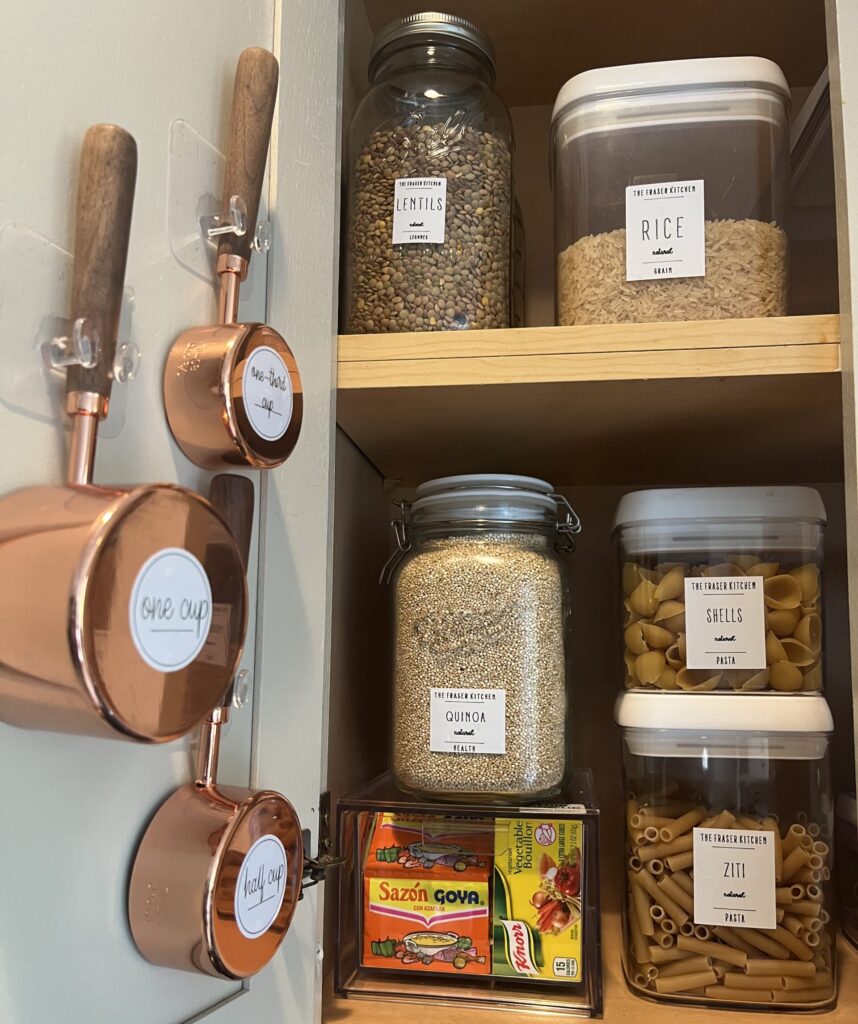
If you can store your non-perishable foods, like pasta, oats, quinoa, rice, lentils, flour, and sugar, in airtight, labeled glass or plastic containers, your cabinet will be more organized and easier to see each item. Storing these items in airtight glass or plastic containers helps keep weevil bugs from nesting in your food.
Store like Items Together
Relocating all the staple baking ingredients, like flour and sugar, into one upper cabinet is helpful. Store small baking items in clear plastic bins for better organization, visibility, and convenience. By using clear containers, your cabinet will not only be organized, but it will also be easier to see each item and when items need to be replenished.
If you take vitamins or drink powdered drinks, move these items to the cabinet beside the refrigerator’s water dispenser if you have one. If not, you can store them by the sink.
Store Cooking Staples Near the Stove
Arrange all your pasta, cereals, rice, oats, and quinoa in the cabinet with labels facing forward. I hung measuring cups on the inside of the cabinet door as it is helpful when measuring pasta, quinoa, or rice.
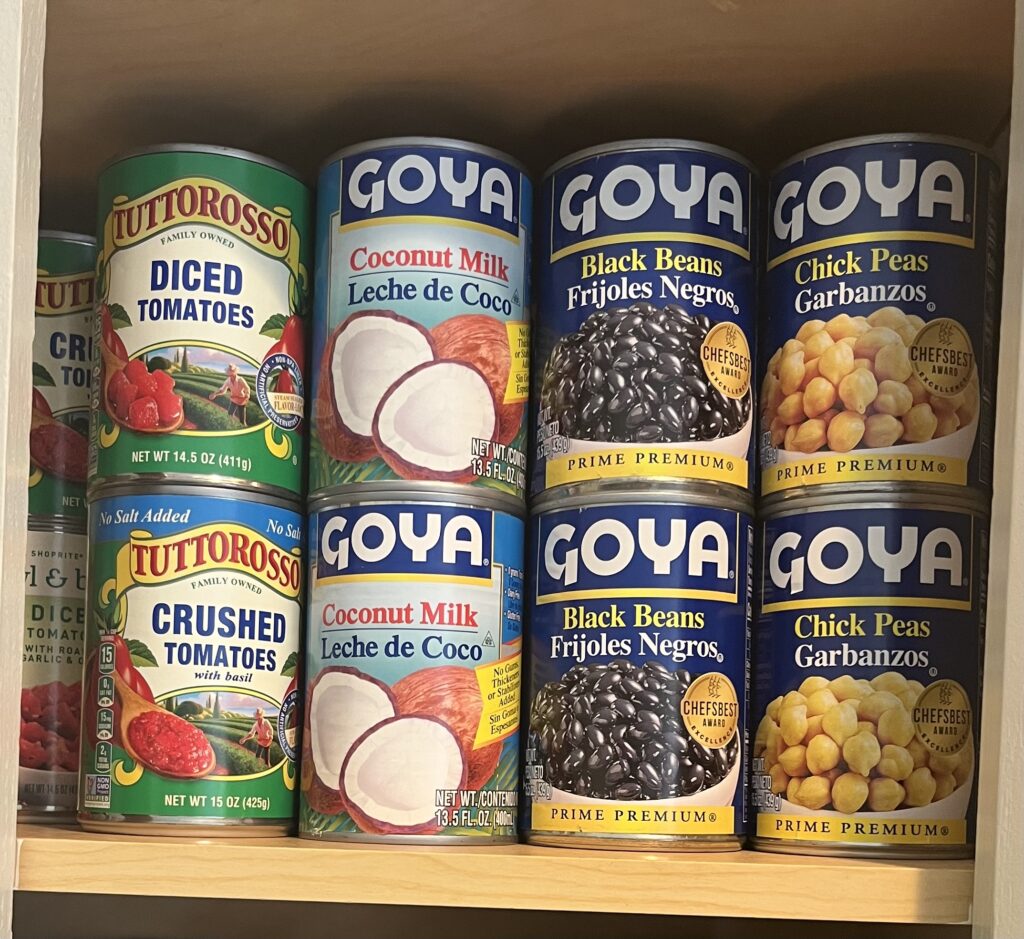
In addition, place your canned goods, sauces, and extra spices in another upper cabinet.
Store Food Storage Containers in the Prep Space Between the Fridge and the Stove
Relocate your glass and/or plastic storage containers to the lower cabinet next to the refrigerator, and use a clear bin to keep the lids together, making everything easy to reach and organize.
Pantry Storage
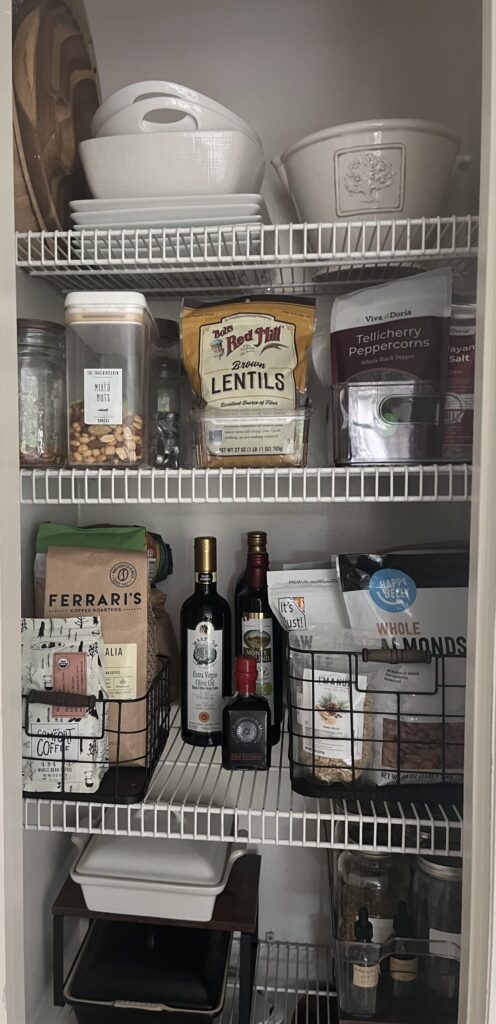
Bins, airtight labeled glass jars, and shelf expanders can help organize your pantry space. Since food platters and big bowls are used less often, they can be moved to the upper shelf, and the items you use more often can be kept at eye level. On the bottom shelf, items like bottled water can be stored. I store my mixed nuts, chocolate, oils and herbs like lavender and chamomile in airtight labeled glass jars. Items like extra coffee beans, extra legumes and nuts are stored in original packages until opened, and then I store them in airtight labeled containers.
Goodwill Donation
Part of the reorganization process is the gift of giving. After cleaning, labeling, and placing food items back into the pantry and cabinets, look at the remaining items no longer needed and decide whether they can be given to donation centers. For me, I knew I wasn’t going to use my extra dishes, Tupperware, or some party supplies, so I loaded several boxes along with a working microwave and toaster oven and took them to Goodwill. Don’t forget to clean these items before donating!